The plugin allows you to create groups for exchange destinations for simplified management.
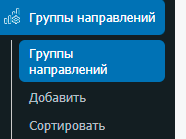
After activation, a "Destination Groups" section appears in the admin menu.
It displays all the groups you've created in a table.
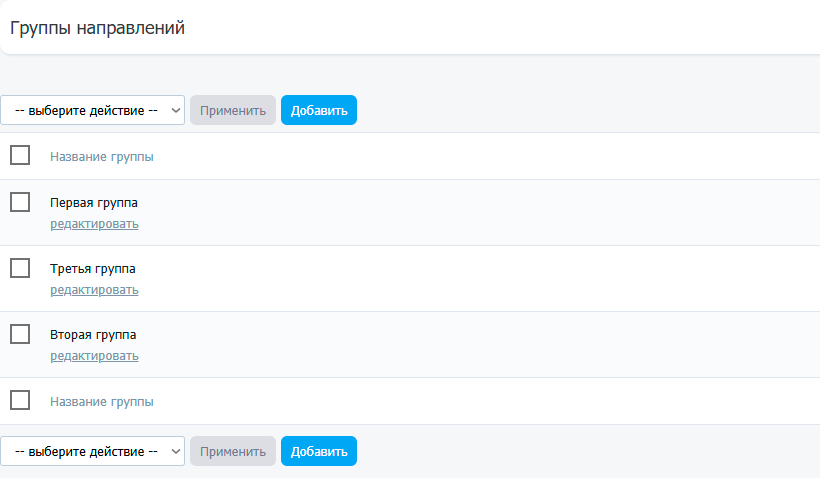
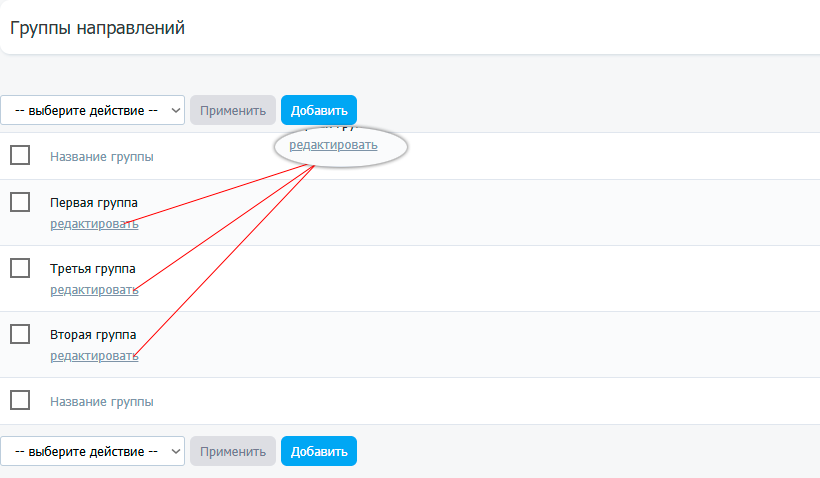
To edit a group, click the "Edit" link next to the group.
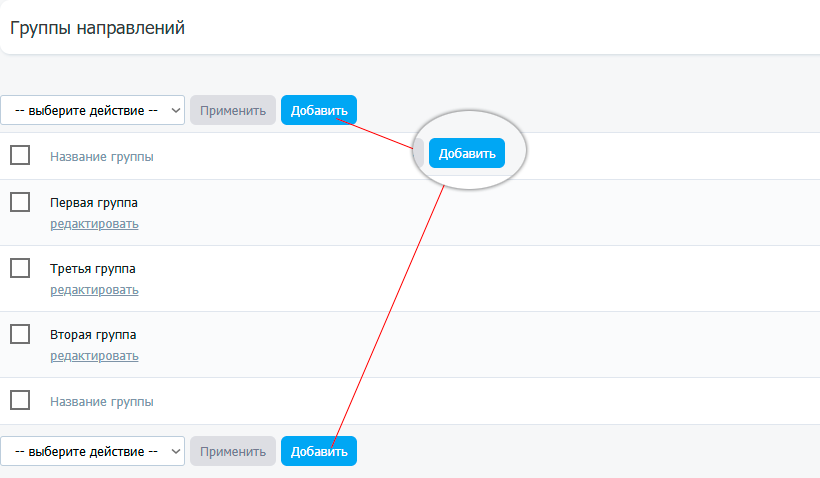
To add a group, click the "Add" button.
Groups can be deleted using quick actions.
A group has only one element:
- Group Name
A name visible only to the site administrator.
You can set a group for a specific exchange direction by going to the "Basic Settings" tab in the admin panel.

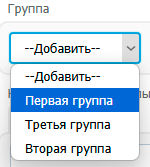
You can add a group by selecting "Add" in the drop-down list and entering "Group Name."
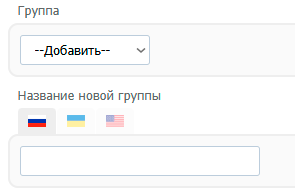
or sеlect from an existing list of groups in the list.
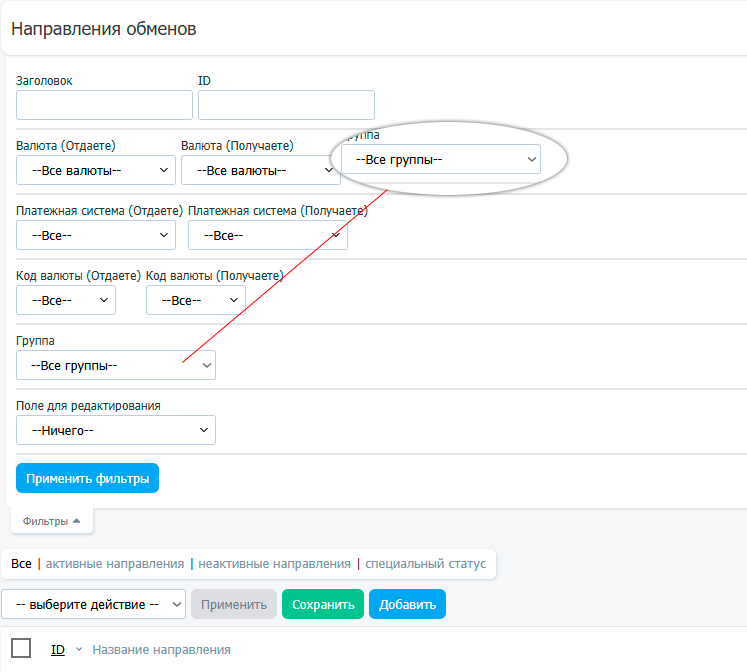
What does assigning a group to an exchange direction provide?
1. Filter in exchange directions
If you go to the "Exchange directions" section, A filter by group will appear in the "Filters" section.
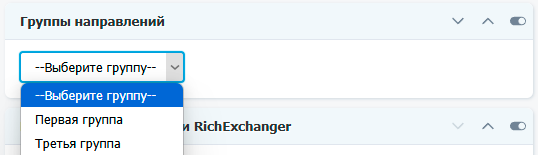
2. In the "Console" section, quick actions are available for exchange directions by group.